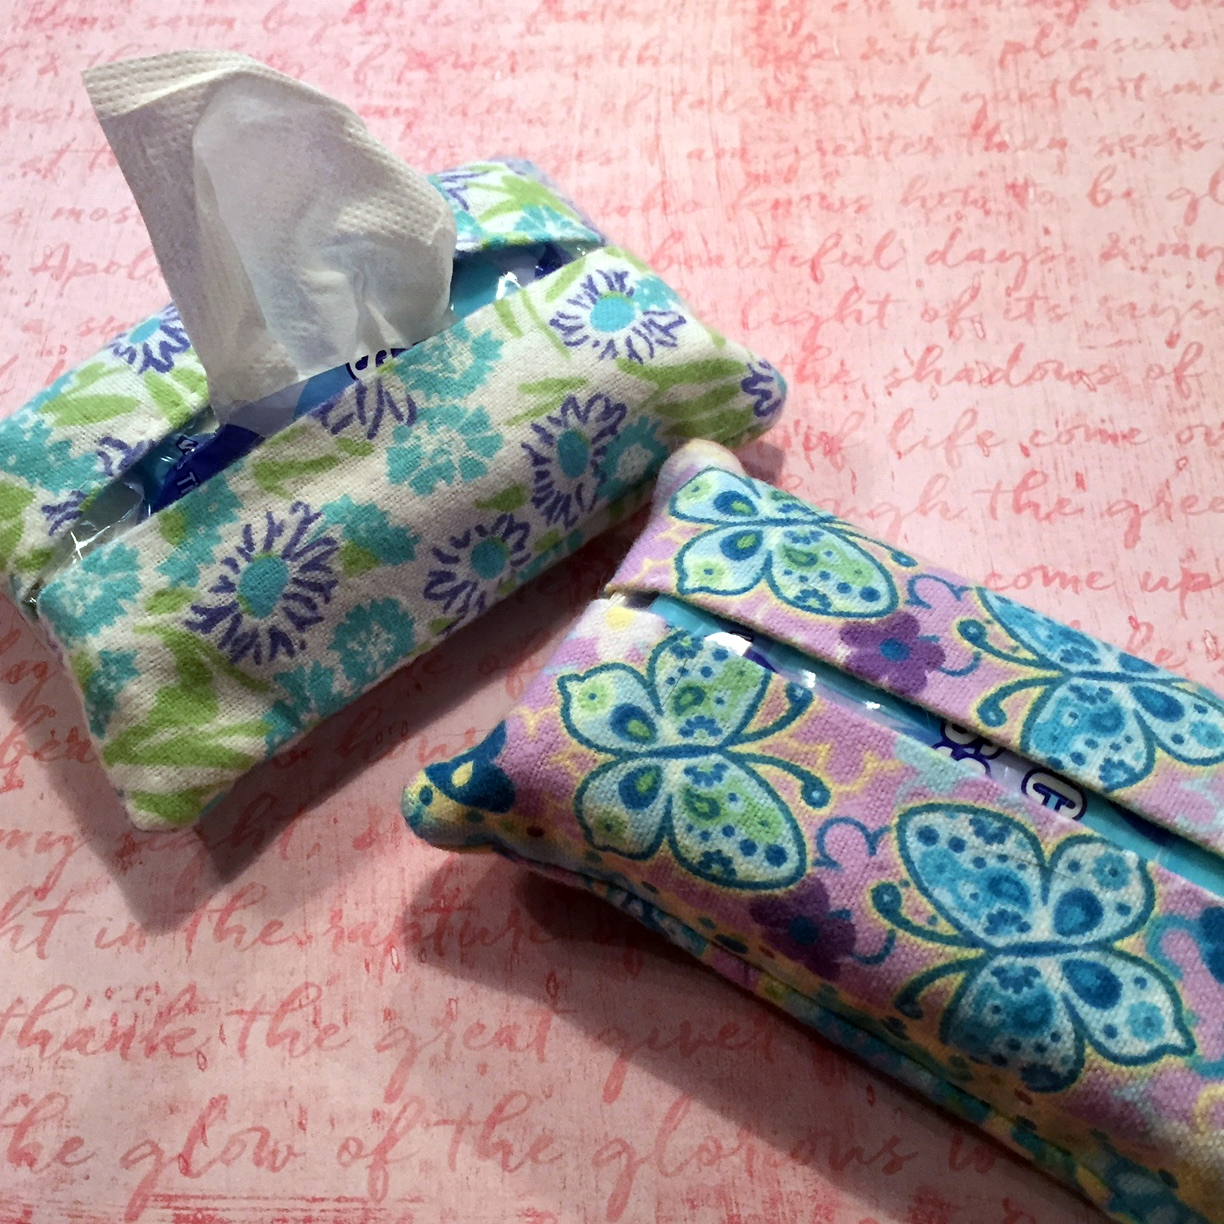
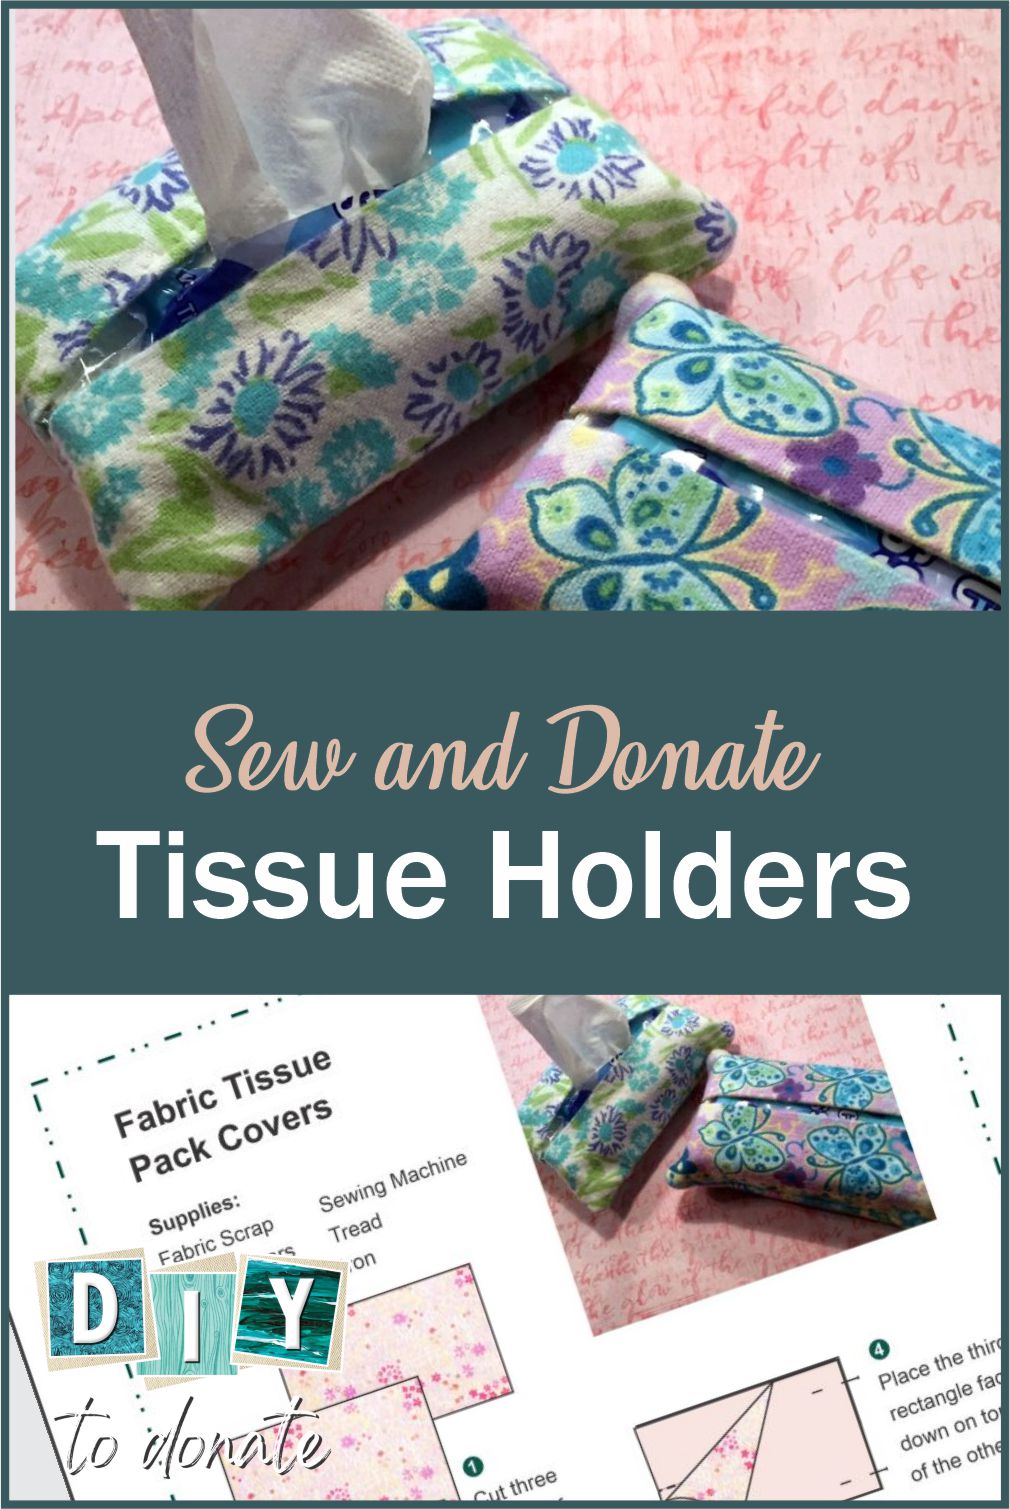
You can make tissue holders from your fabric scraps. All you need is three small pieces 3.5″ x 5.5″ and a sewing machine. They are quick any easy to stitch up. Great for beginners!
Now more than ever, it’s important to have tissues handy. From little kids to seniors, everyone will appreciate handmade tissue holders.
If you’re making these for kids, choose bright, appealing colors and prints. FreeKidsCrafts.com has a super easy pattern for younger kids to make tissue holders for other kids.

Instructions to for Tissue Holders
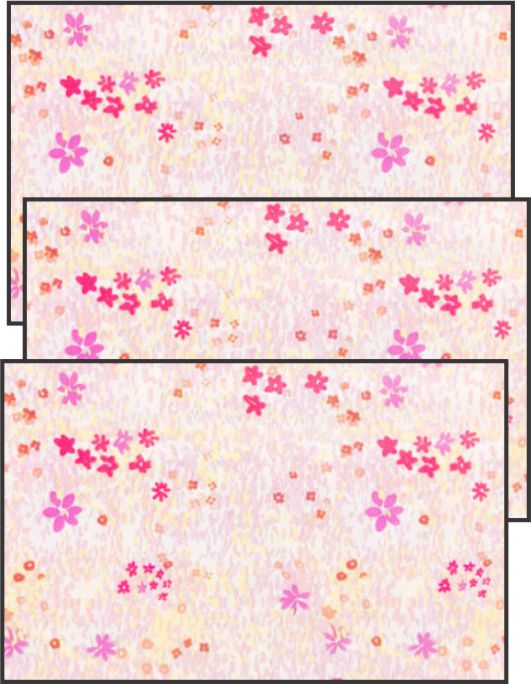
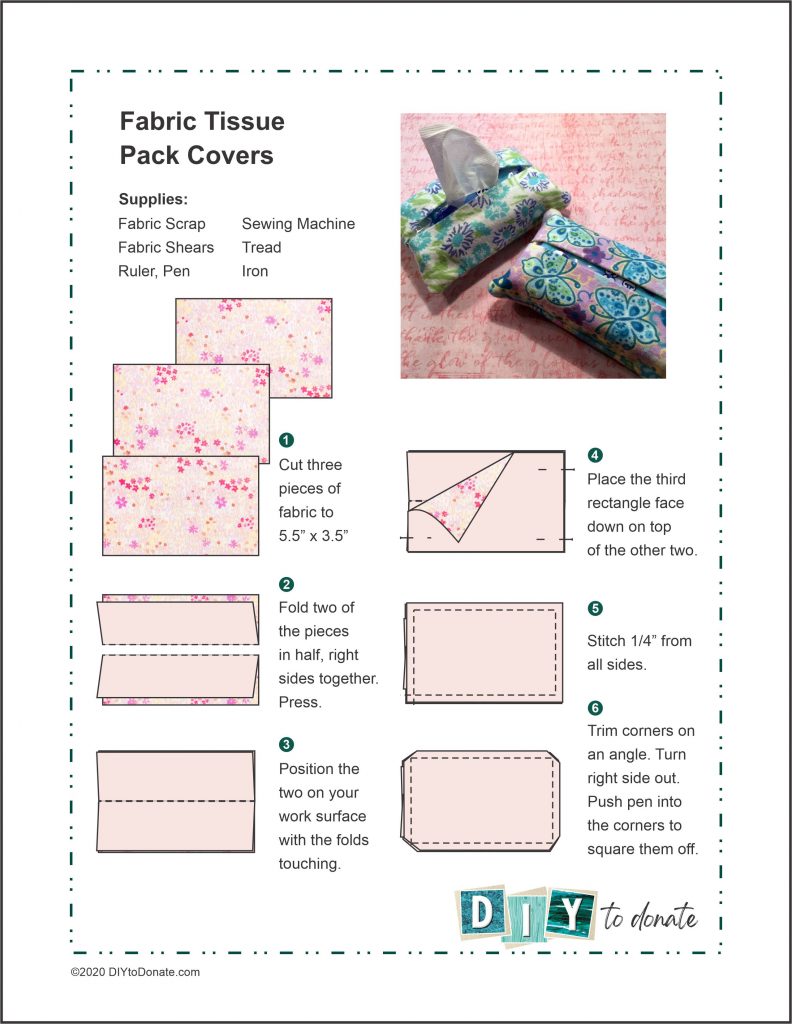
Cut three pieces of fabric to 5.5” x 3.5”.
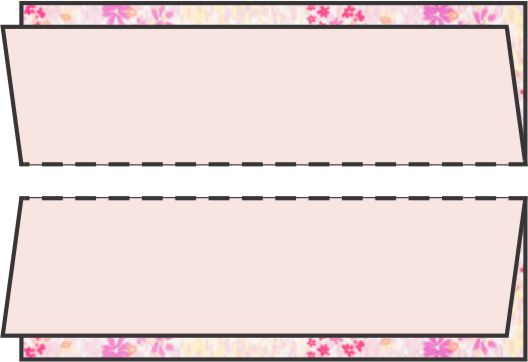
Fold two of the pieces in half, right sides together. Press.
Position the two on your work surface with the folds touching.
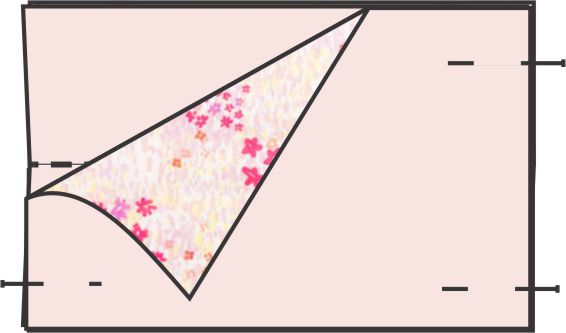
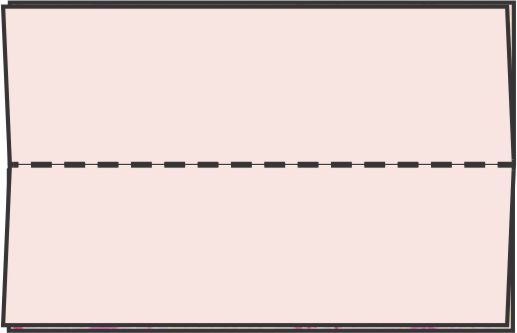
Place the third rectangle face down on top of the other two.
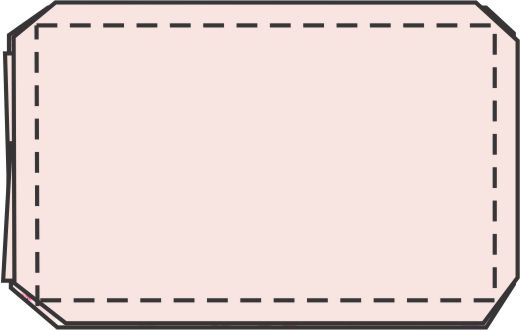
Stitch 1/4” from all sides. Trim corners on an angle. Turn right side out. Push pen into the corners to square them off. Add a pack of tissues
Download Our PDF Printable
Yes, it’s that easy! Print a bunch of our instruction sheets and hand them out to your friends or your troop and get started using up those scraps.
Where to Donate Tissue Holders
Find a local Meals on Wheels. They will hand out your tissue holders with the meals they deliver. Take a look at our other ideas for Meals on Wheels tray favors.
You can also put them in donated backpacks. The Blue Ribbon Project sends backpacks with personal care items to kids in foster care. Find out more about their program here.
Don’t forget your local shelters. Check with them first and you can save on postage.