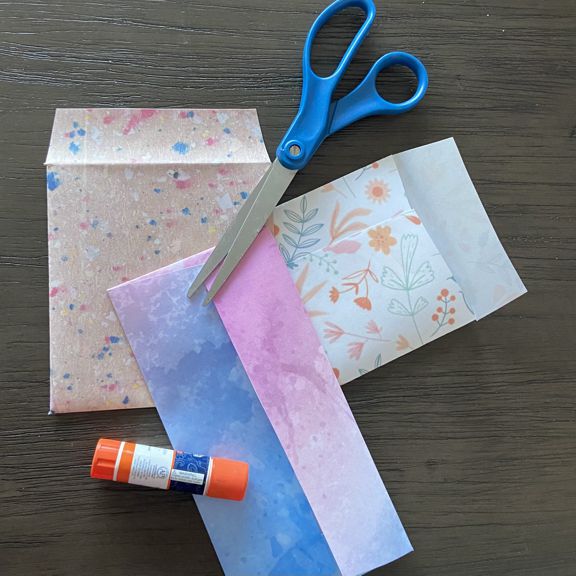
When you make envelopes for your cards, the recipients will know you put extra effort into the gift. While there are many different ways to make envelopes, we have made it extra easy with step-by-step instructions, so even kids can make envelopes.

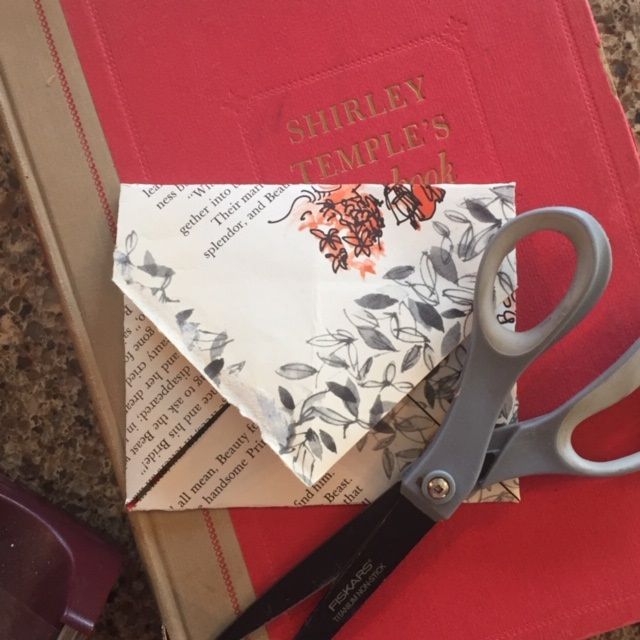
You can choose any type of paper to make envelopes. It can be recycled from old books, calendars, gift wrap or anything else you already have around the house. We don’t recommend card stock as it can be difficult to crease but you can experiment with different weights of paper to see what works best when you make envelopes.
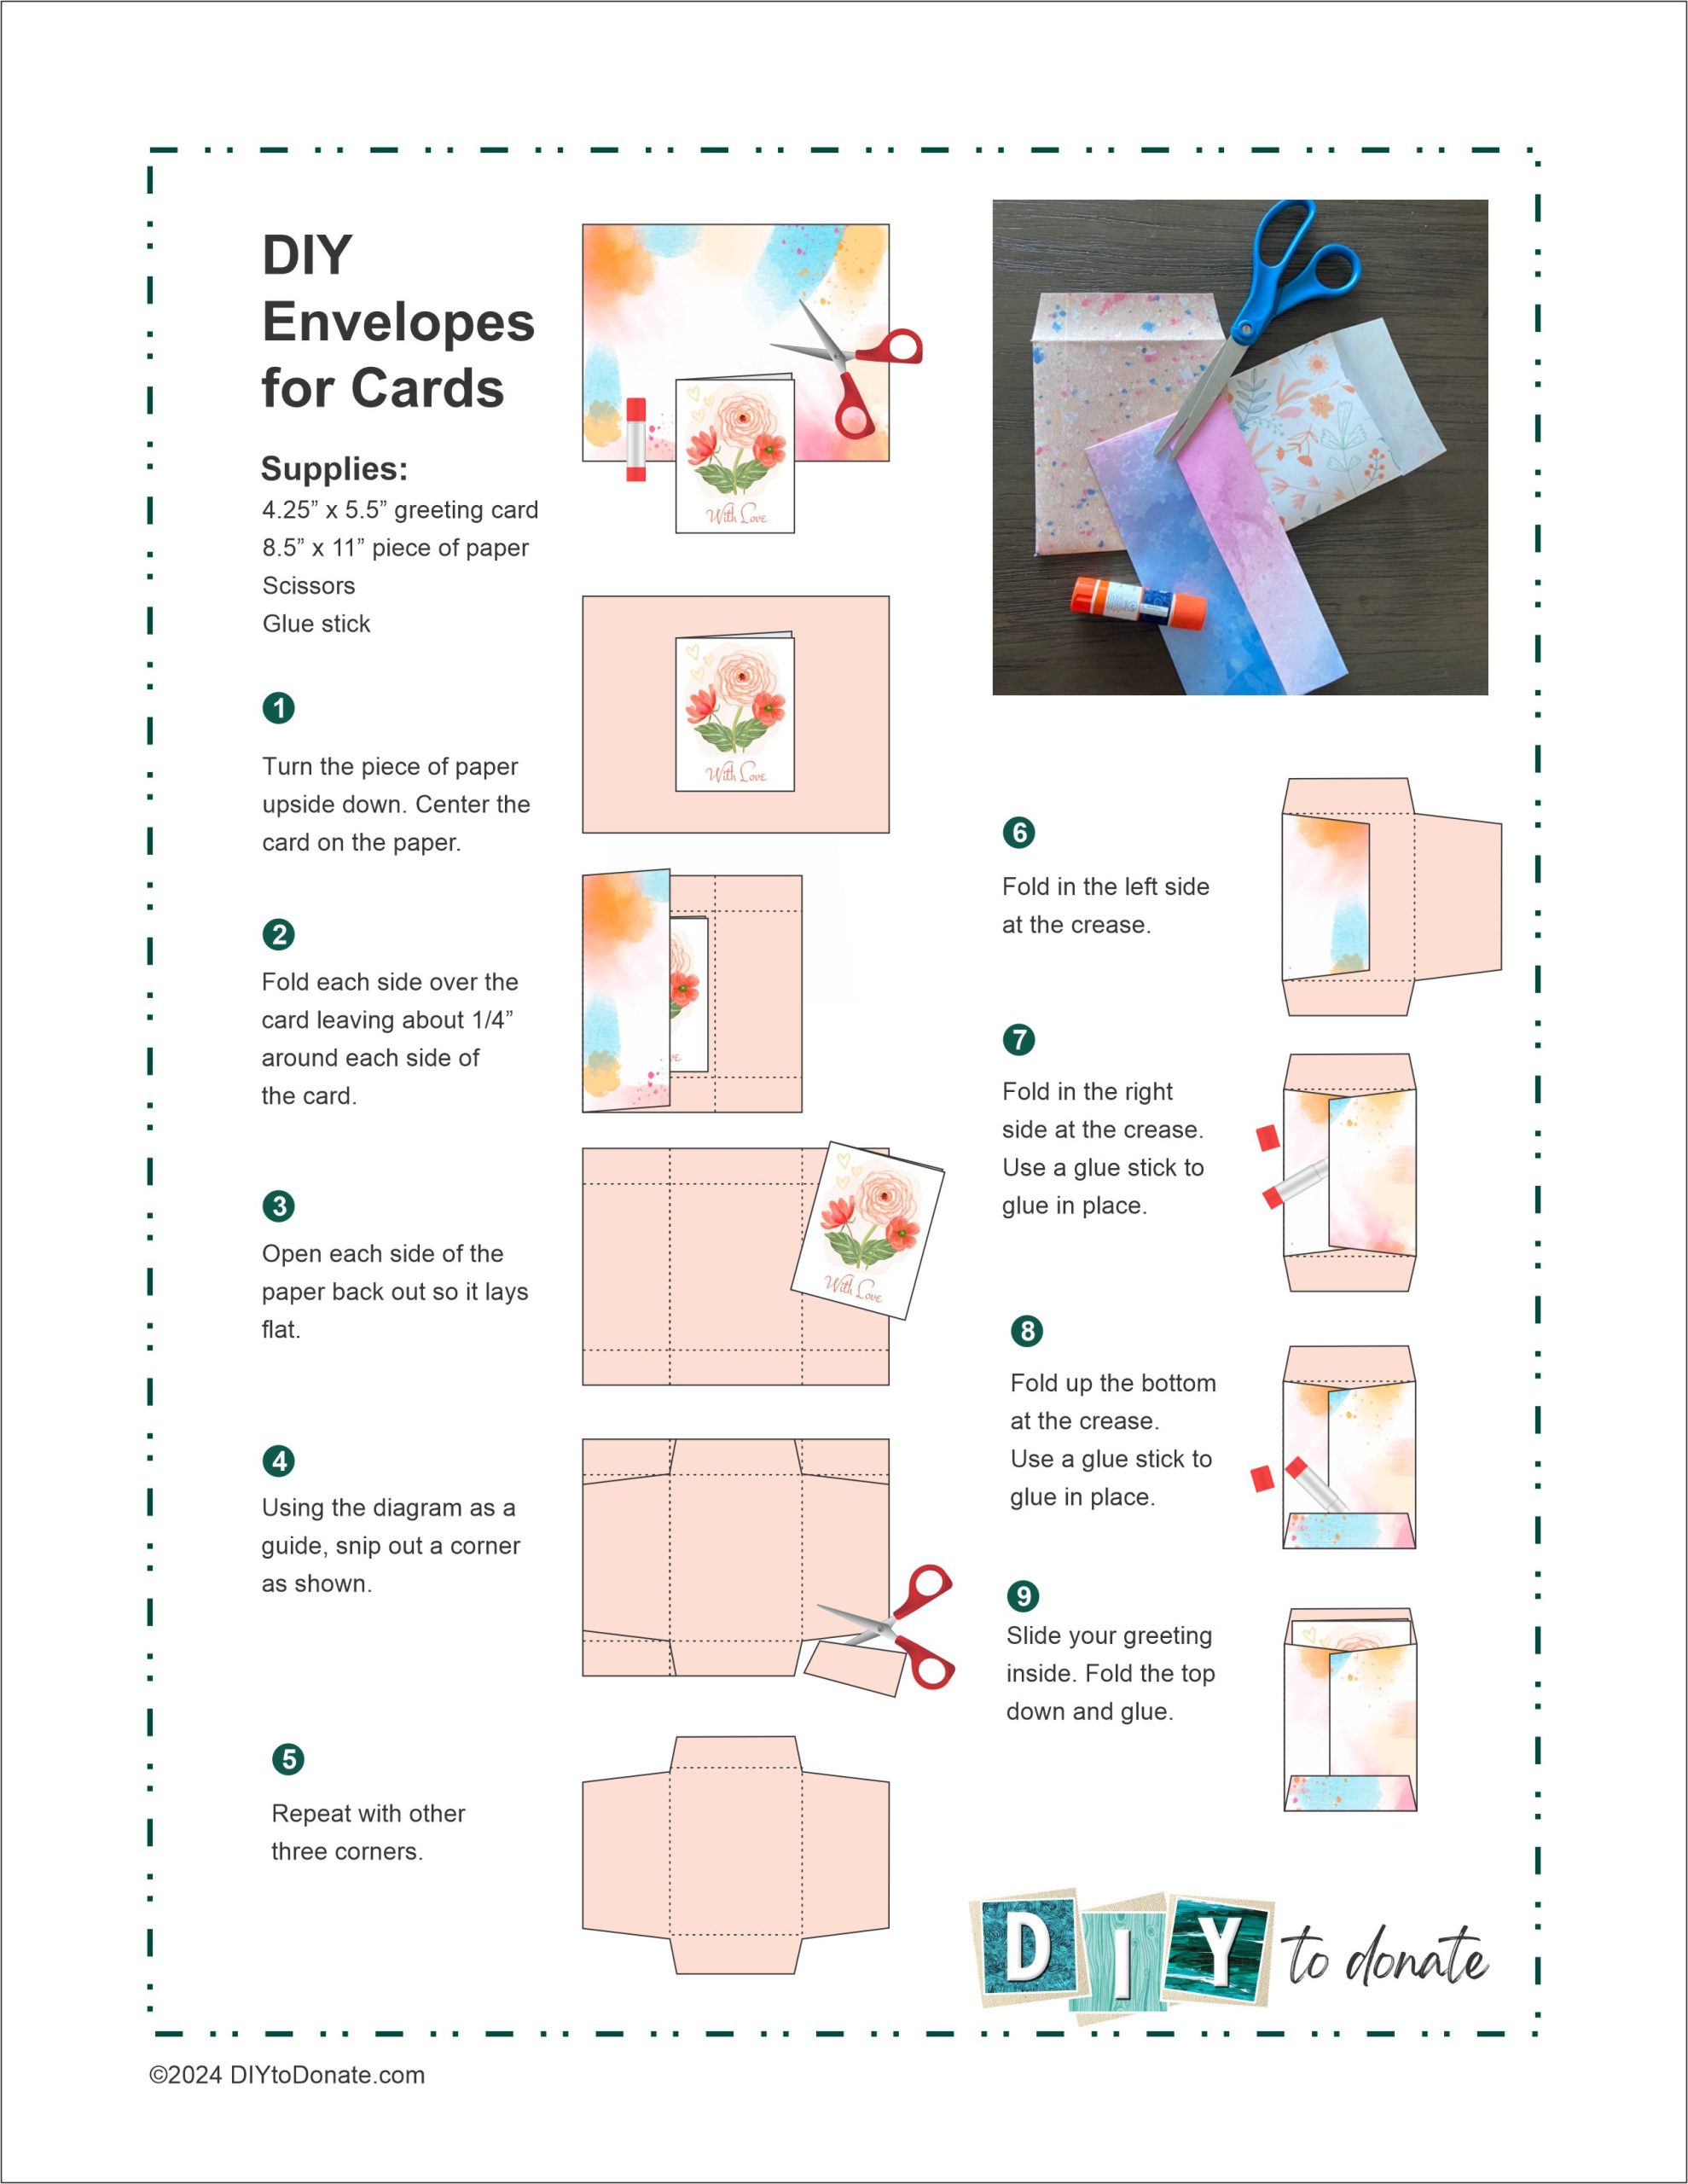
Use our free printable or follow our step-by-step instructions below. We have used an 8½ x 11 sheet of paper to make an envelope for a 4¼ x 5½ card. If you have a larger card just start with a larger piece of paper. You don’t have to measure. just place the card on your paper and make sure the paper folds with enough overlap for gluing. You will also want to make sure the finished envelope has enough room to slide the card in and out.
Supplies to make envelopes:
- Paper
- Card
- Scissors
- Glue stick
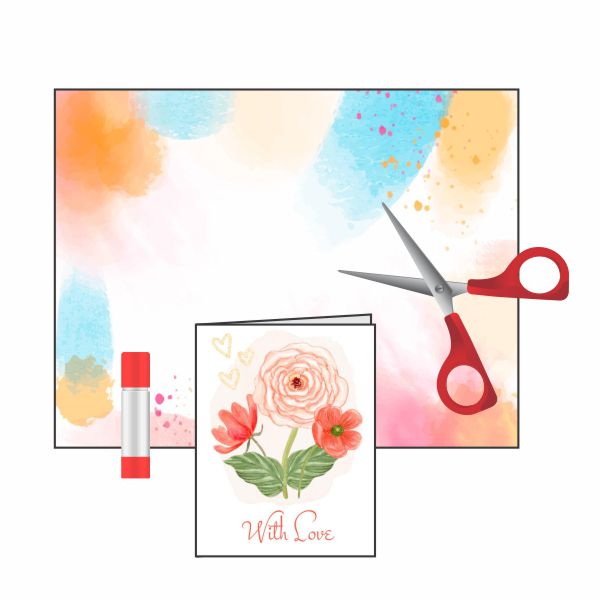
Step 1
Turn the piece of paper upside down. Center the card on the paper.
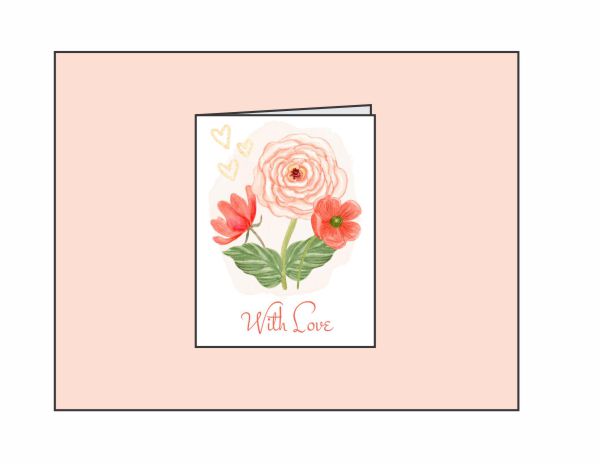
Step 2
Fold each side over the card leaving about 1/4” around each side of the card.
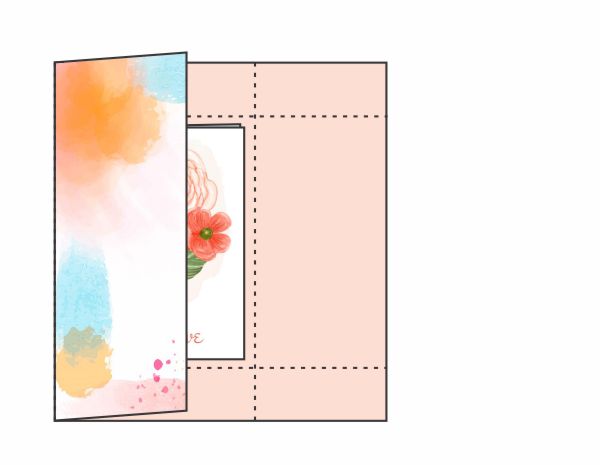
Step 3
Open each side of the paper back out so it lays flat.
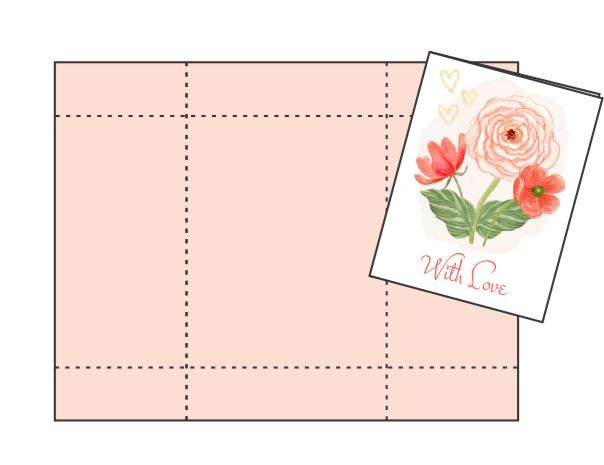
Step 4
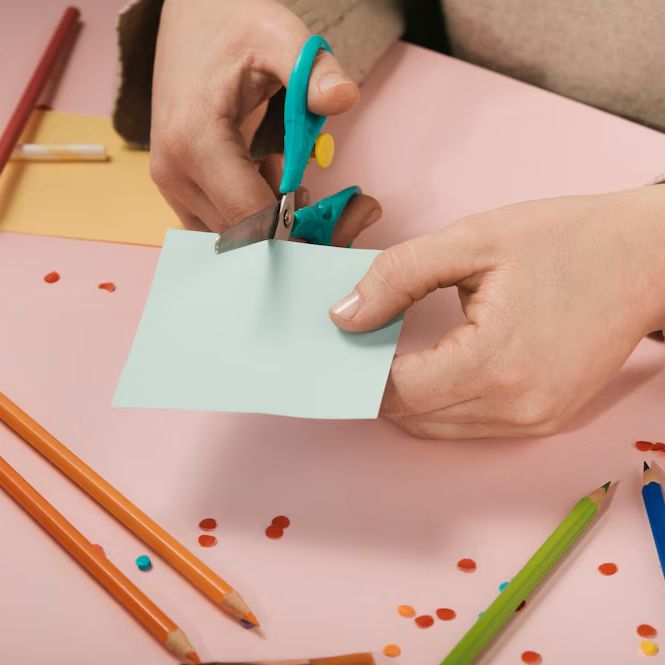
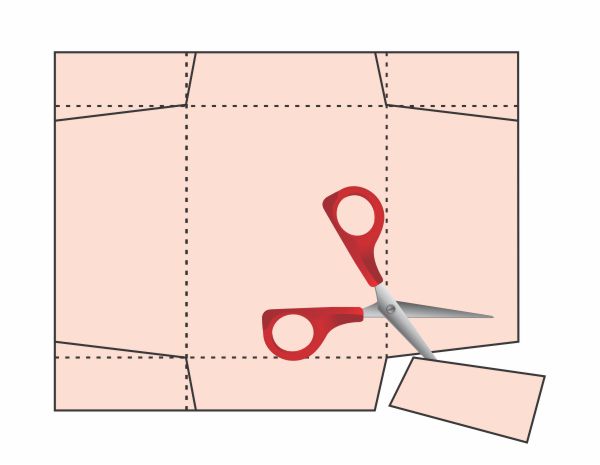
Using the diagram as a guide, snip out a corner as shown.
Step 5
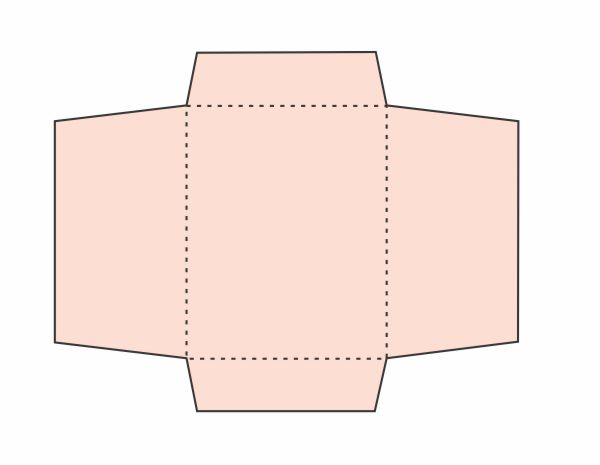
Repeat with other three corners.
Step 6
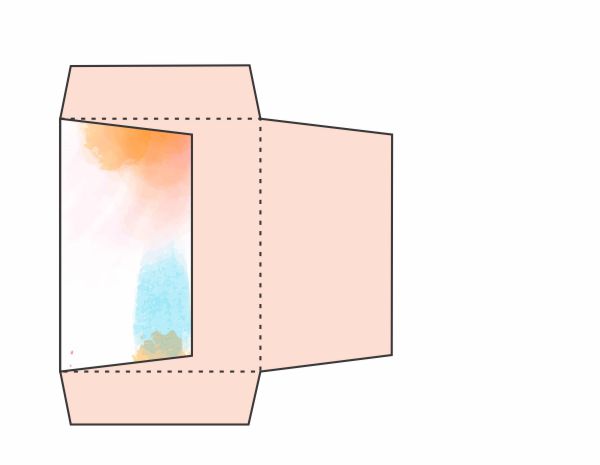
Fold in the left side at the crease.
Step 7
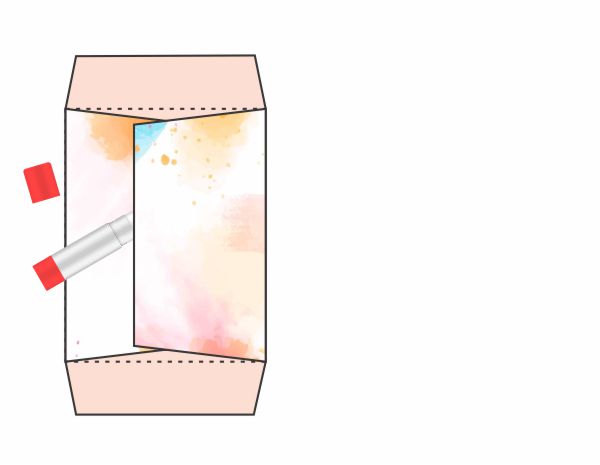
Fold in the right side at the crease. Use a glue stick to glue in place.
Step 8
Fold up the bottom at the crease. Use a glue stick to glue in place.

Step 9
Slide your greeting card inside. Fold the top down and glue.


