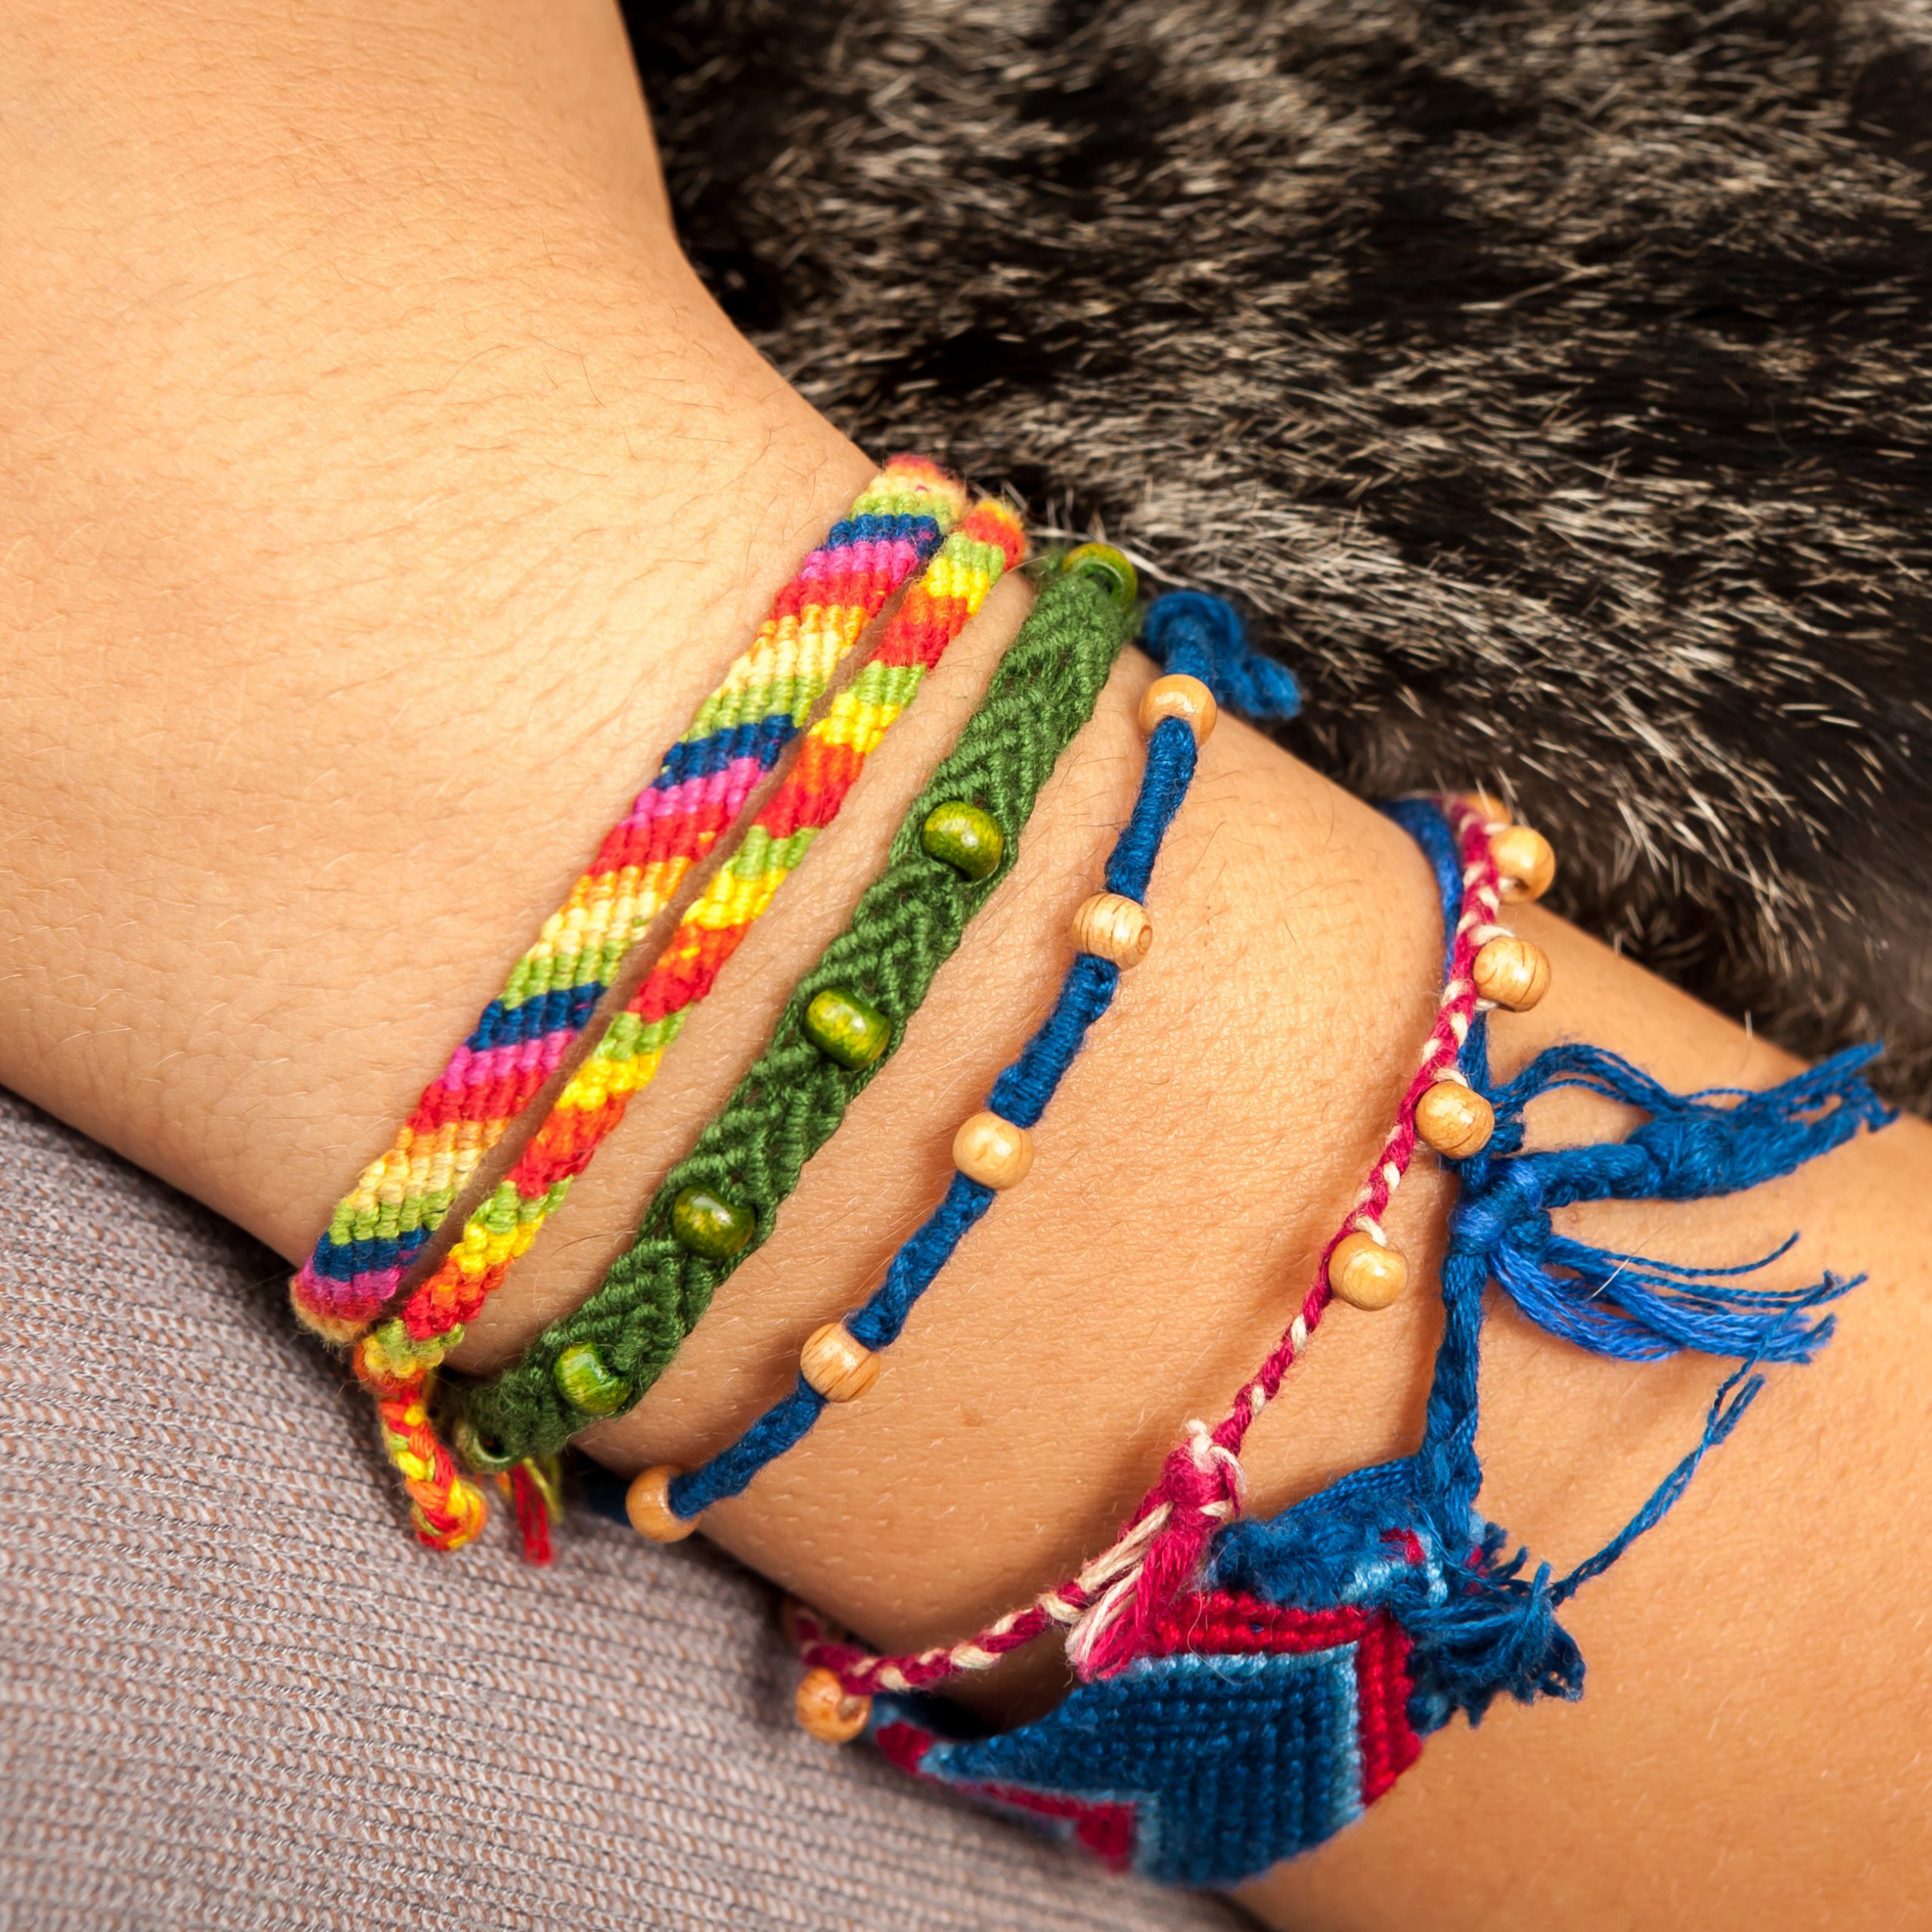
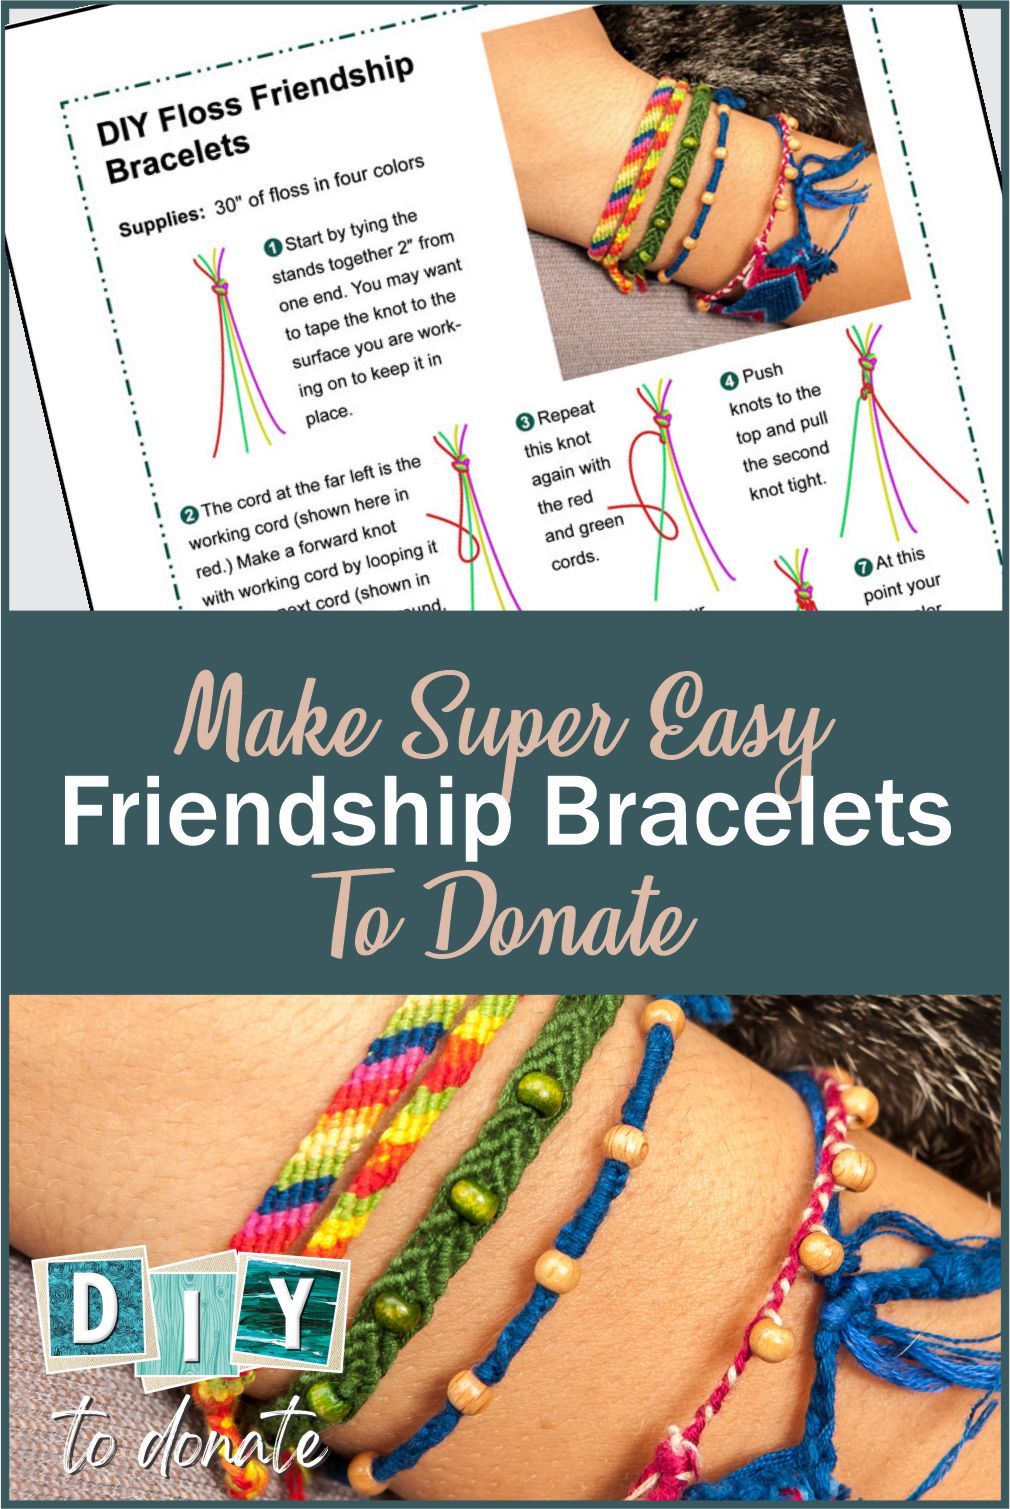
Here’s your chance to finally learn how to make easy friendship bracelets. These step-by-step instructions will have you knotting in no time. We’ve used four strands of embroidery floss but you can use as few as three or as many as ten strands. The more you use, the wider your bracelet will be. Follow along with the instructions below or download our PDF printable project sheet.
Traditionally, embroidery floss is used to make friendship bracelets. It’s cheap, easy-to-find and comes in plenty of colors. Feel free to experiment with other types of cord. Colored hemp, satin cord and cotton cord are all good options. You can even use strips of fabric or old tee shirts to make chunky, shabby chic friendship bracelet.
Instructions for Diagonal Pattern Friendship Bracelet
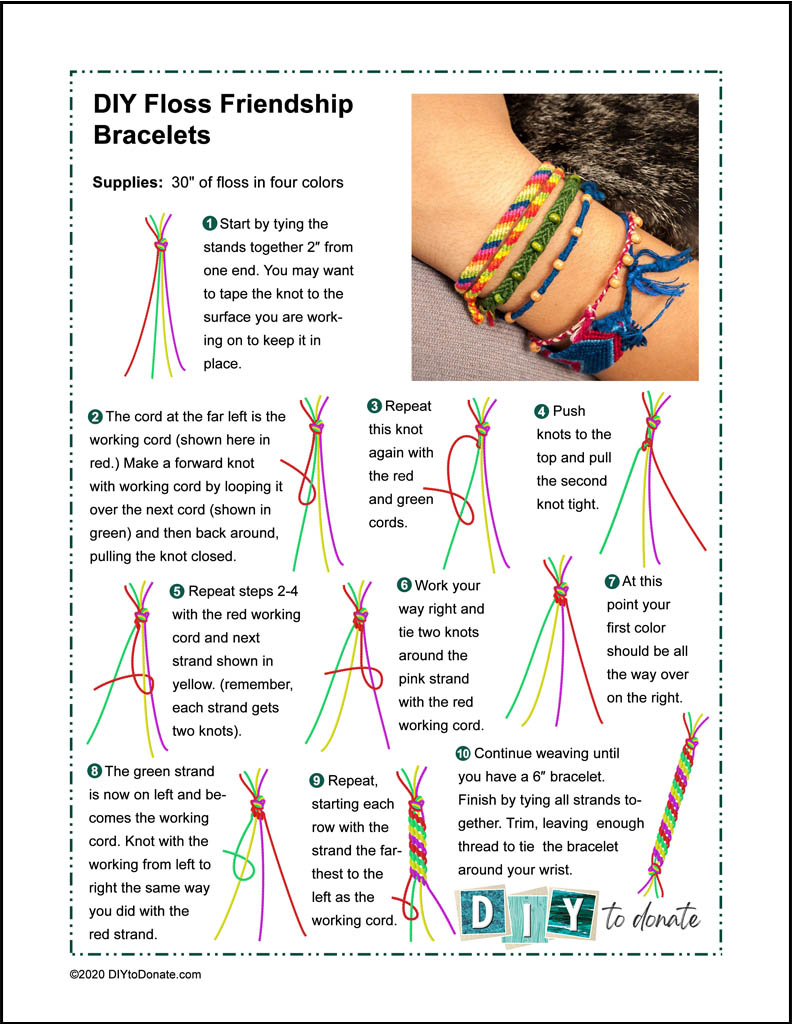
The only thing you need for making this friendship bracelet is 30″ of floss in four colors. This knot is called a forward knot.
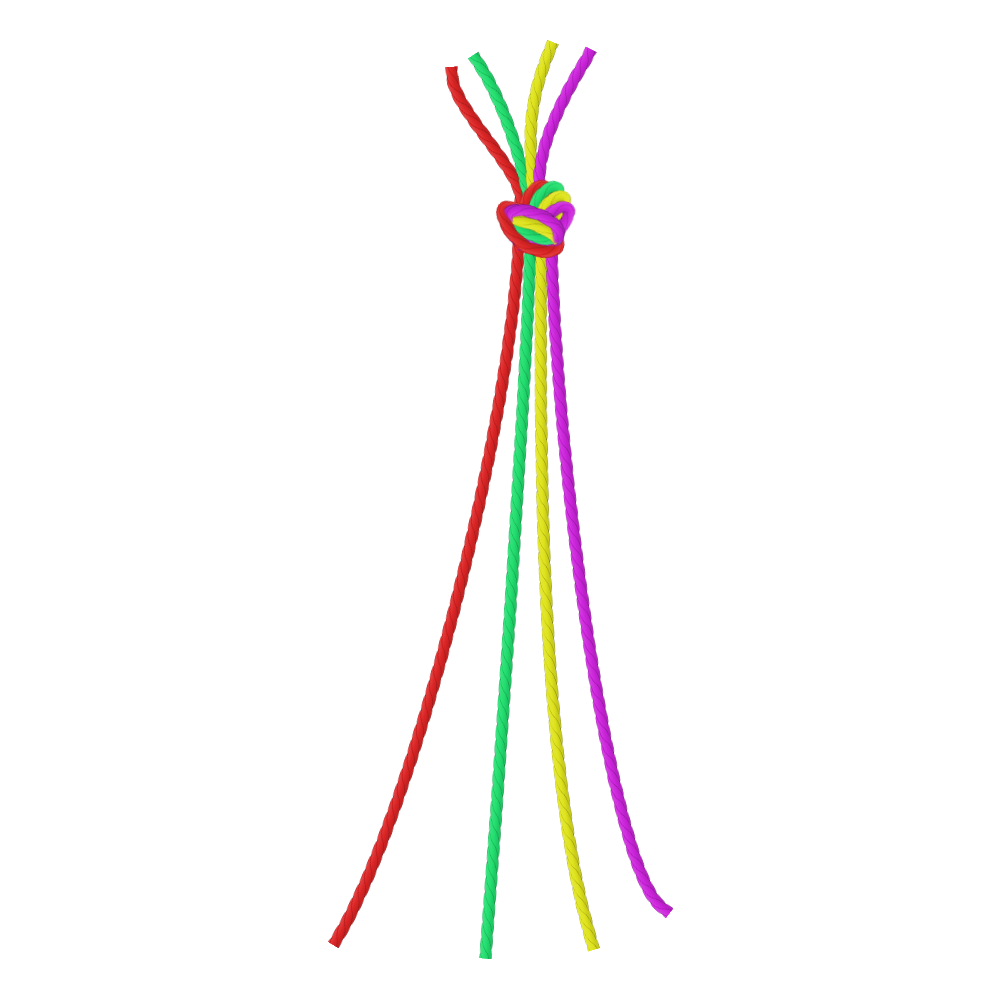
1. Start by tying the strands together 2″ from one end. You may want to tape the knot to the surface you are working on to keep it in place.
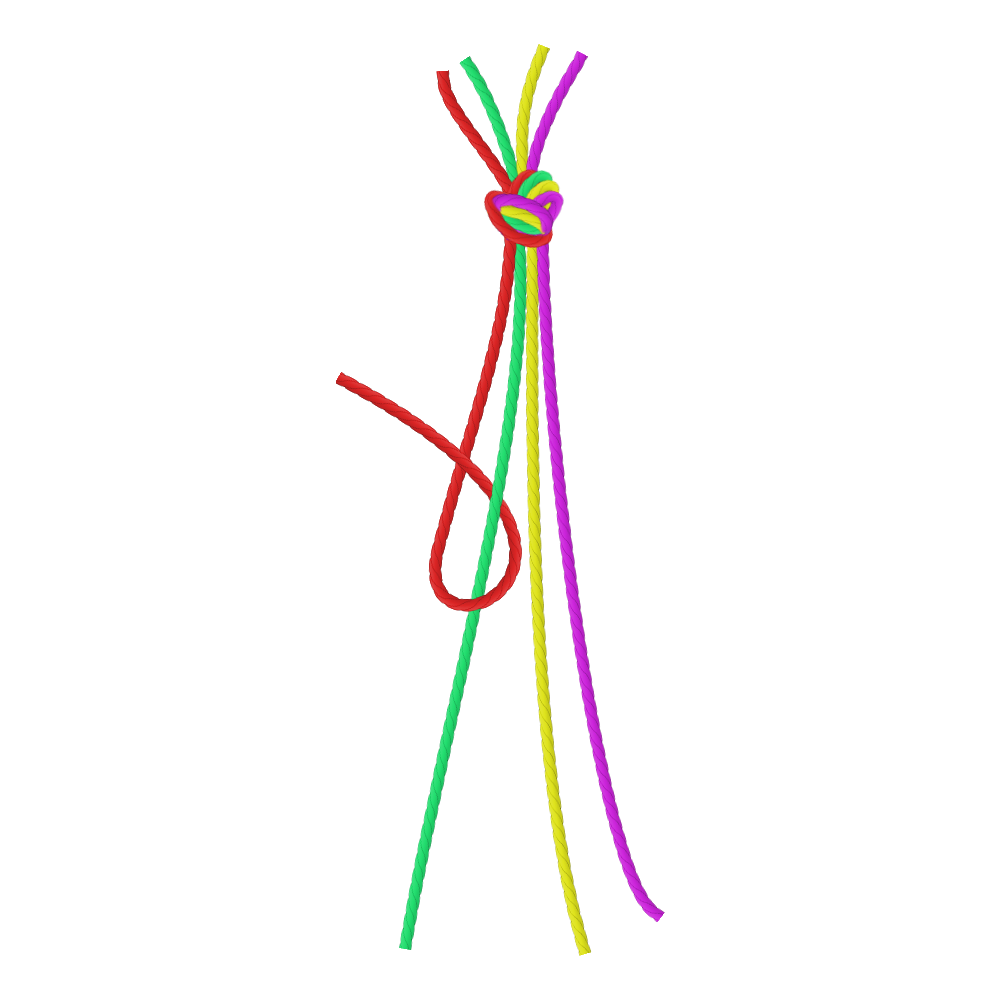
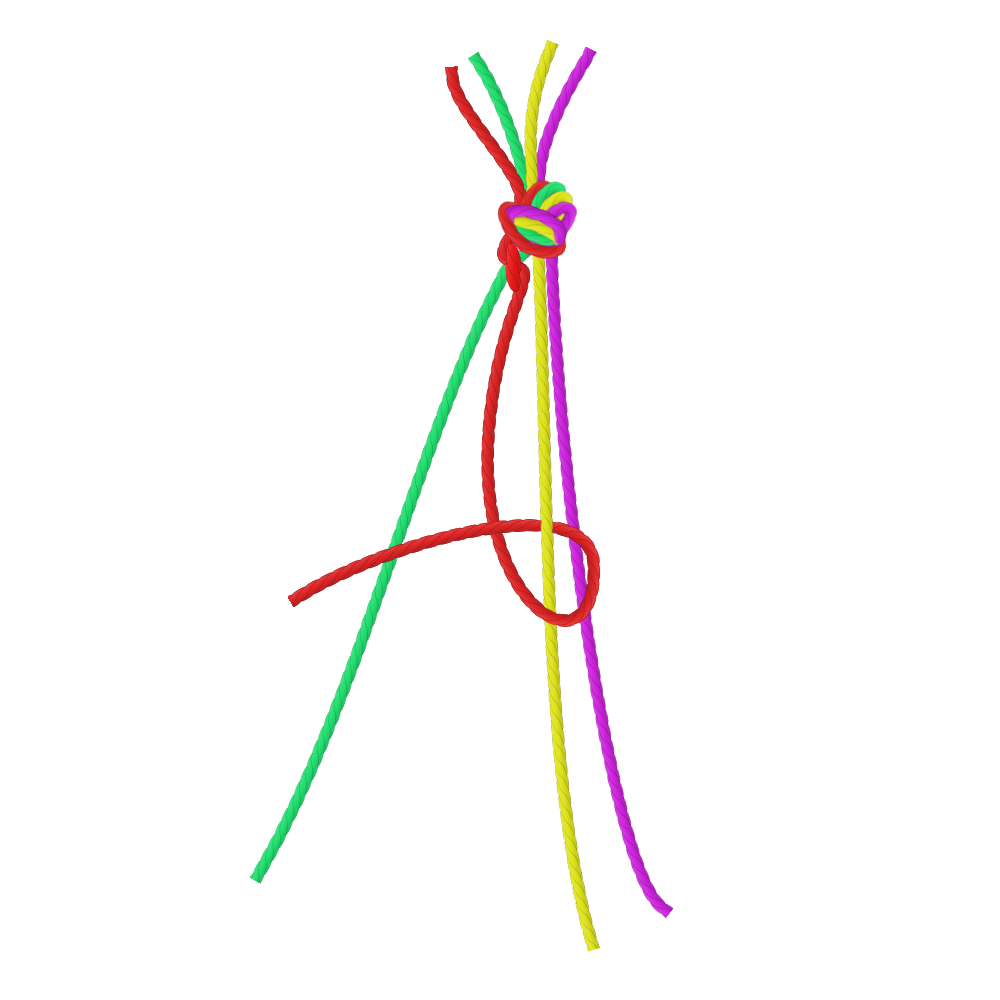
2. The cord at the far left is the working cord (shown here in red.) Make a forward knot with the working cord by looping it over the next cord (shown in green strand and then back around, pulling the knot closed.
3. Repeat this knot again with the red and green strands.
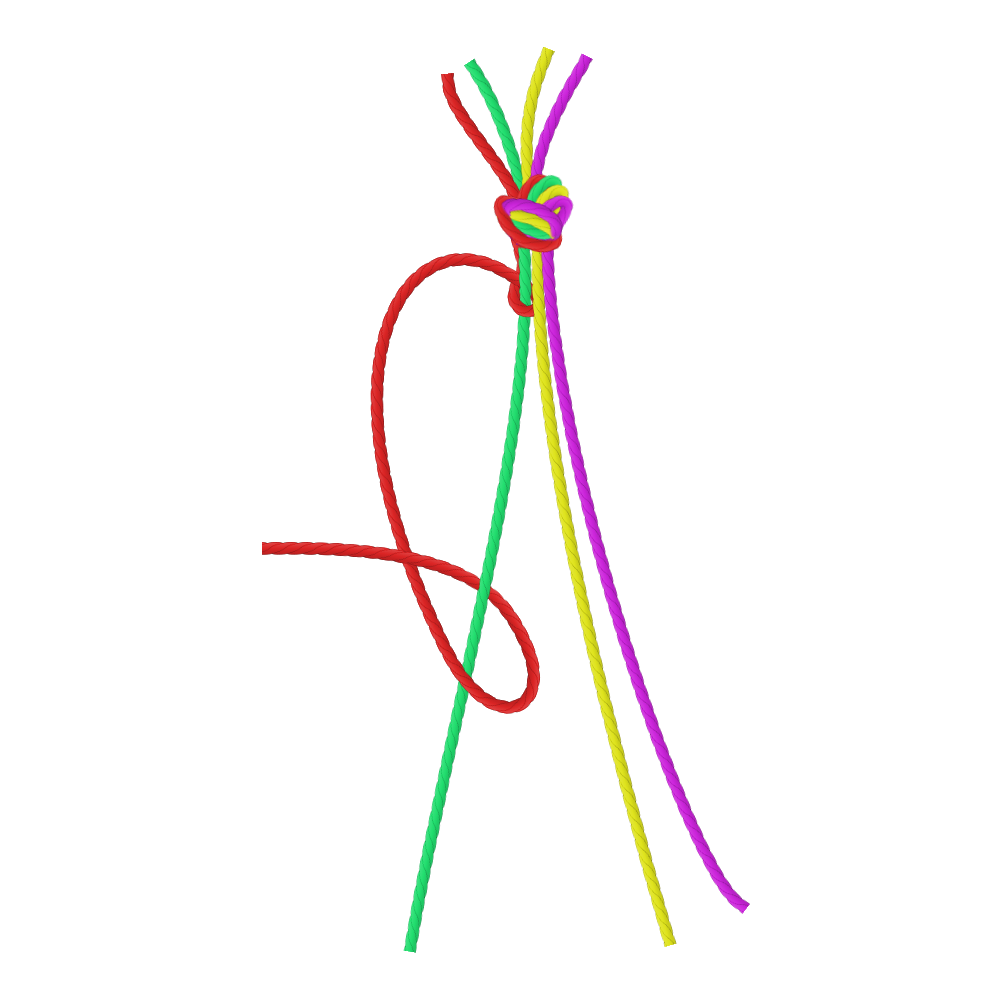
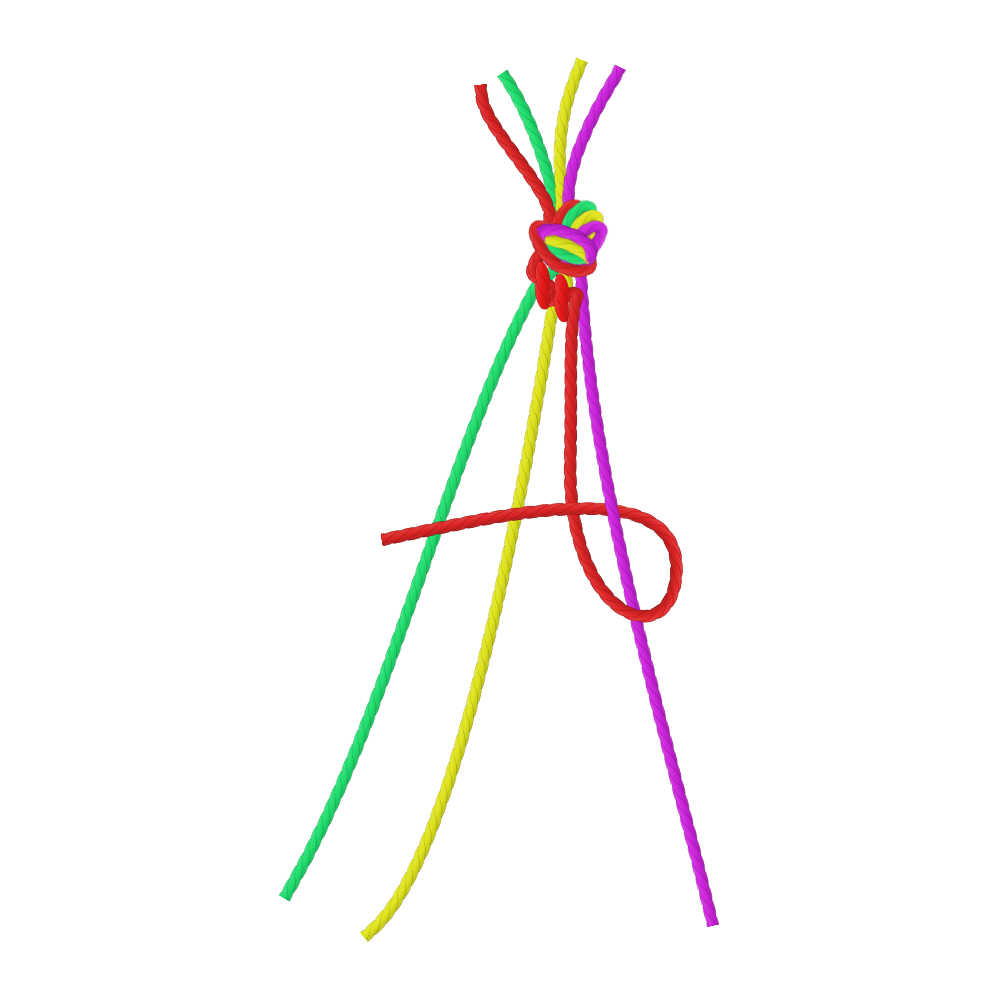
4. Push knots to the top and pull the second knot tight.
5. Repeat steps 2-4 with the red working cord and next strand shown in yellow. (remember, each strand gets two knots).
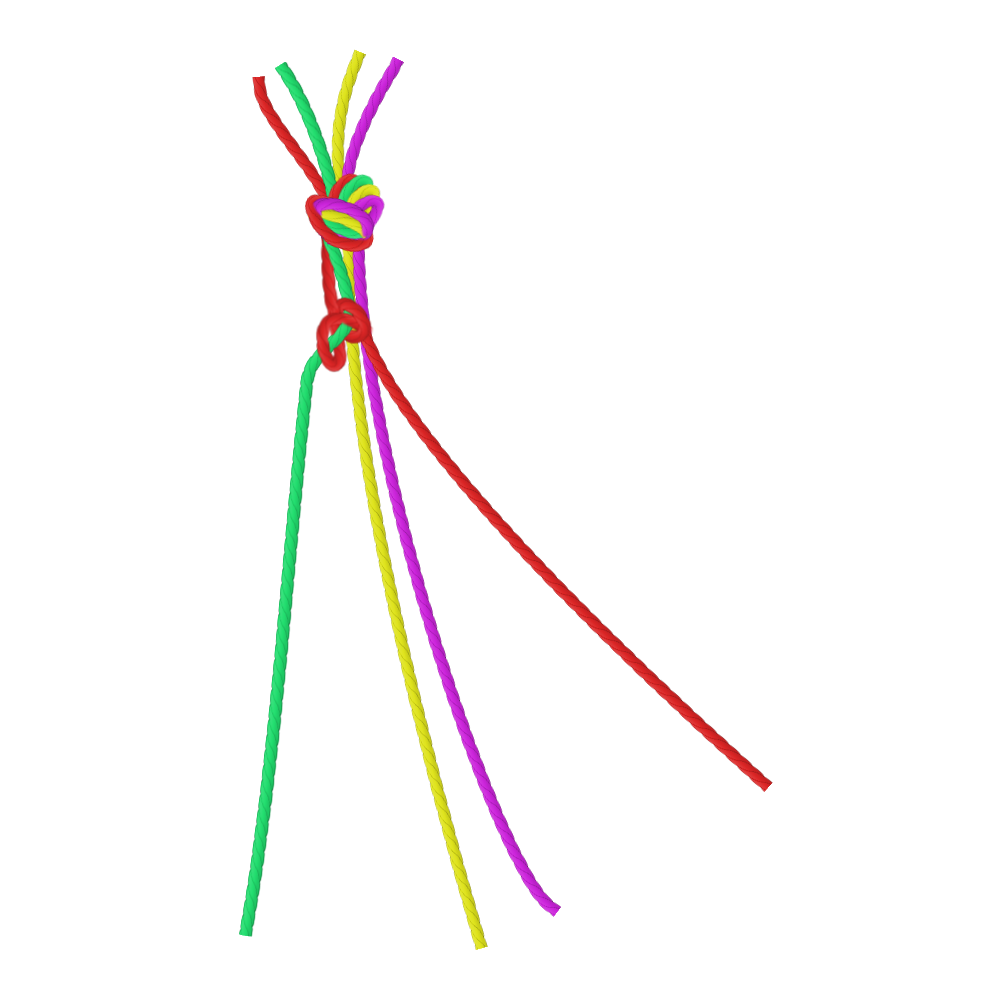
6. Work your way right and tie two knots around the pink strand with the red working cord.
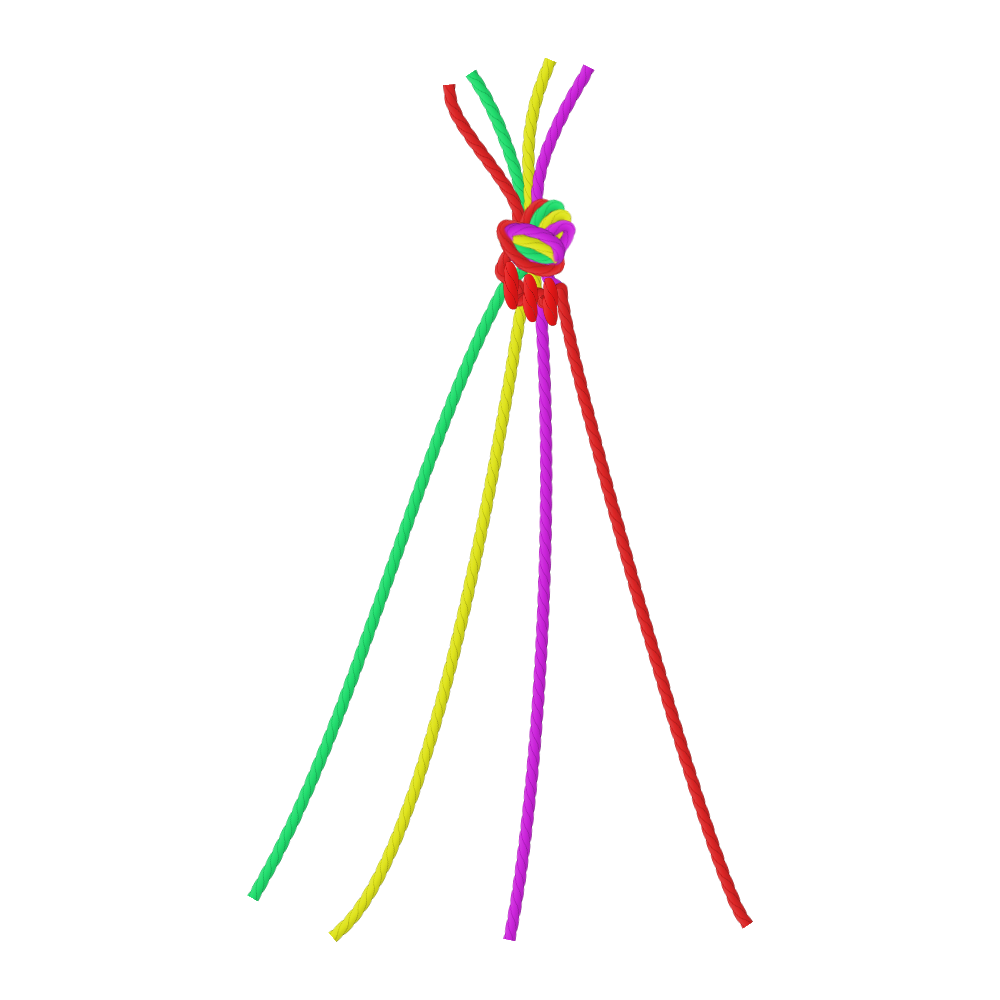
7. At this point your first color should be all the way over on the right.
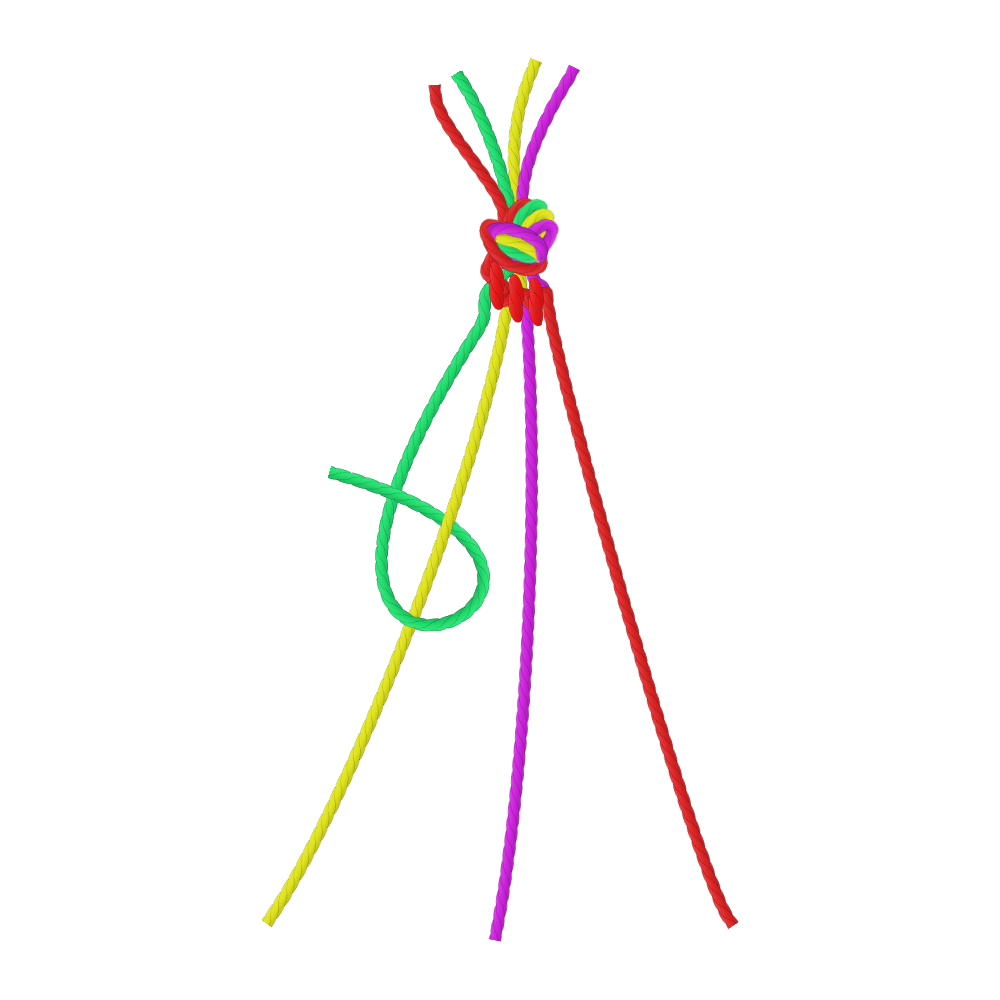
8. The green strand is now on the left and becomes the working cord. Knot with the working cord from left to right the same way you did with the red strand
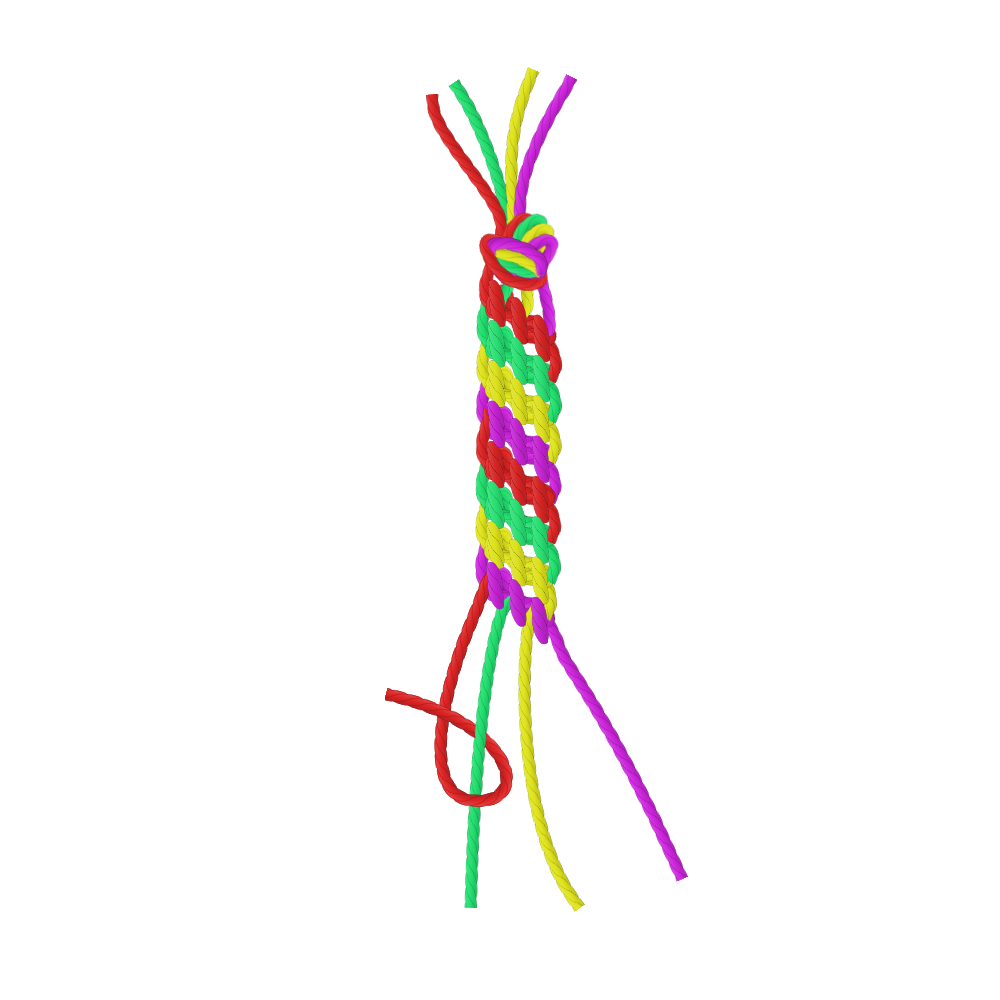
9. Repeat starting each row with the strand the farthest to the left as the working cord.
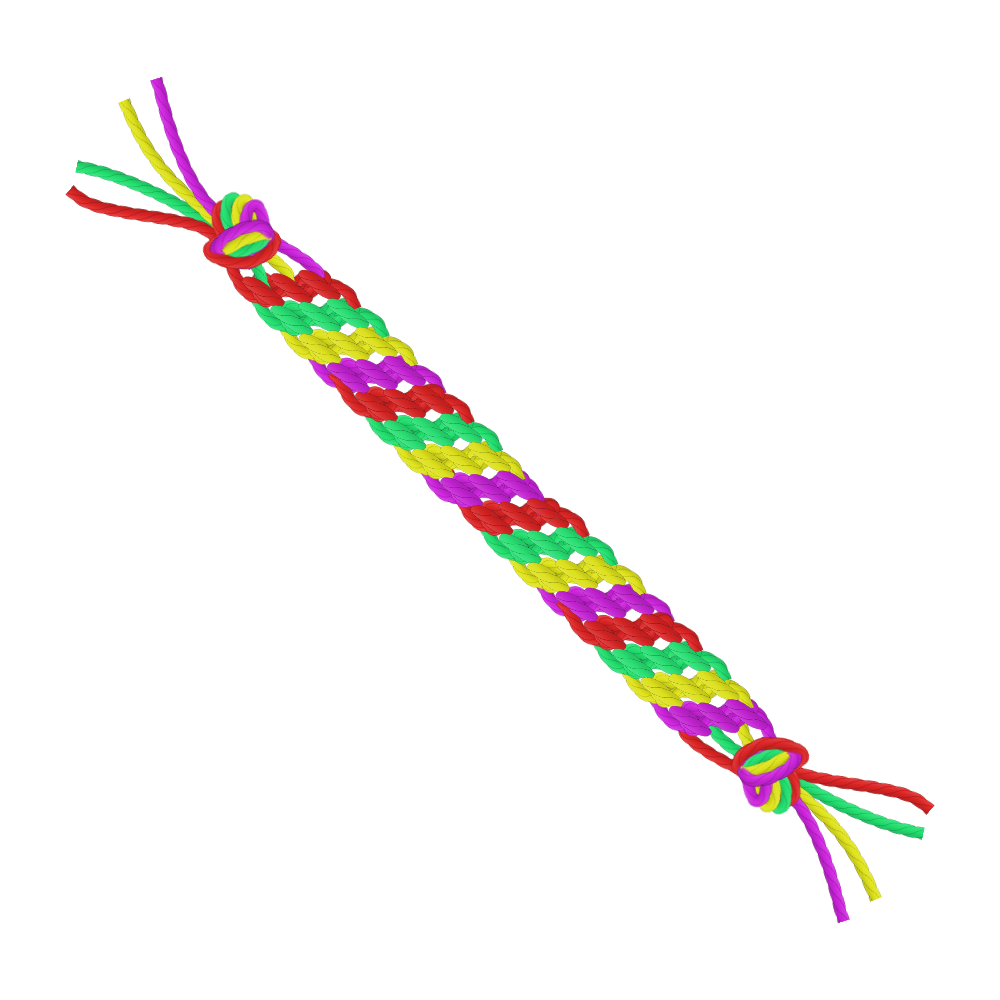
10. Continue weaving until you have a 6″ bracelet. Finish by tying all strands together. Trim, leaving enough thread to tie the bracelet around your wrist.
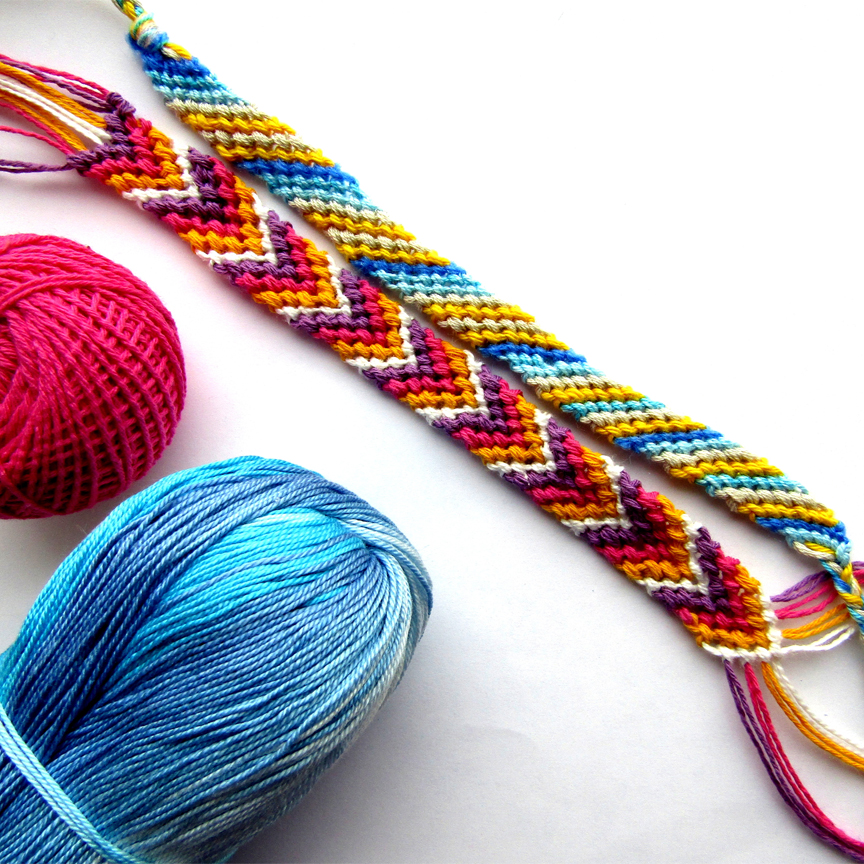
Your Next Friendship Bracelet
The next bracelet pattern to try is the chevron pattern shown here. It’s made from seven strands. The knotting is the same as the diagonal bracelet except that that you work both ends to the middle.
Where to Donate Friendship Bracelets?
Think local! Kids in shelters or kids in the hospital would love a handmade bracelet with an encouraging note. You can also donate them to St. Jude’s Children’s Research Hospital, ℅ Non-Monetary Gifts, 595 North Parkway, Memphis, TN 38105.